
Get ready to OWN your school sound system!
We help educators go from tears to CHEERS with sound!
Everyone wants students to be HEARD during performances. We can make that happen using our system or yours!
Have an audio problem with your system that you can’t figure out how to solve? We’re ninja troubleshooters and love to solve problems!
Is the original installer of your system unknown? We’d love to take over being the expert on your exact setup. We’ll optimize what you have and take care of necessary repairs.
Do you have some promising young tech talent but not enough time to bring out their best. We’ll condense decades of experience into days for them. Many of the students we work with go on to pursue careers in audio. But before that, they can become great at audio for your school! We also look for ways to give students (and interested teachers) experience in community events outside of school.
One of our missions is to help start kids learning tech in elementary school. Not only does this give them a valuable way to contribute, but it also helps middle and high school programs when those kids have industry-professional habits before they arrive.
Need extra wireless head-mics or a whole system designed to impress? If you’re near Charlotte, NC, you can rent from us and we’ll come do the entire setup for you! Our most popular rental system is specifically designed for elementary and middle school musicals. You can use it all week and it moves in minutes so you can share the room with flying basketballs or class picture days.
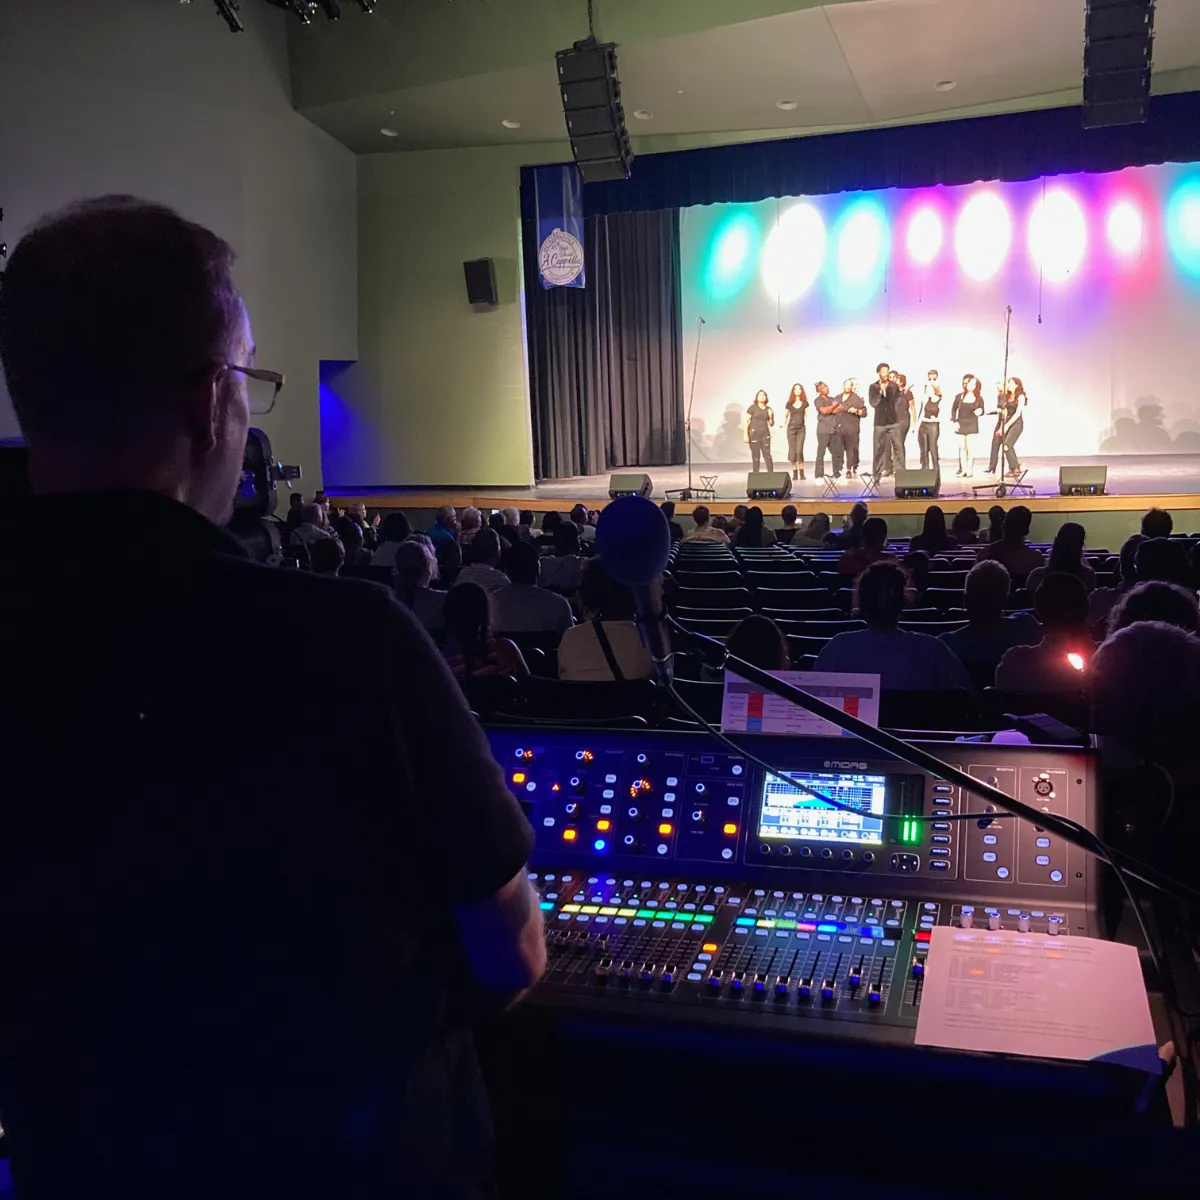
Would you prefer we bring in and operate an extravagant audio system for your choir concert? We will bring in a Disney/Broadway-level sound system and set up early enough so you can rehearse. We’ll play music before and after the show that supports the emotion of the concert theme. During the show, we’ll mix with the same attention your accompanist is giving. We can even multi-track record and provide a studio-mixed master after concerts.
Our passion is to provide exceptional experiences with meticulous attention to quality and detail.
Serving those who serve others

Our clients are making a difference to kids
Ardrey Kell High School
Beverly Woods Elementary School
Charlotte Children's Choir (with Sound Post Productions)
Charlotte Mecklenburg Schools Professional Development
Elon Park Elementary
First Presbyterian Church in Charlotte (Children's Musicals)
Highland Creek Elementary
Highland Mills Montessori
Julius L. Chambers High School
McAlpine Elementary in Charlotte
Metro School in Charlotte
NCASA Show Choir NC State Competition
Northside Baptist School Theater Department
Northwest School of the Arts in Charlotte
Parkside Elementary School
Providence High School in Charlotte
Sharon Elementary School
South Mecklenburg High School in Charlotte
Starmount Academy of Excellence
Walter G. Byers School
Weddington High School in Union County (Choir and Theater)
Weddington Middle School (Theater and Choir)
William A. Hough High School in Cornelius (Choir and Theater)
Hi! I'm Jeff!
I'm the owner of Sound Amazing LLC. In over 45 years of audio experience, I have run sound for school musicals and national theatrical tours and played the lead in multiple musicals. I’ve worked on gigs for a US president and vice president, famous artists, global telecasts and PBS concerts. And I’ve written letters of recommendation that helped get students into exclusive college theater programs. I love to condense decades of experience into days and help you achieve TOTAL CONFIDENCE with your school sound system!

Our services

Courses for Students
Currently in development
In person coaching for theater tech kids
We’ll coach your students in setting up for a performance. Theater teachers love this service because we can solve most of the audio problems before the first rehearsal. That allows the student tech crew to focus on learning cues instead of fighting feedback and wireless mic issues.

Professional Development Training for Teachers
One of the best ways to get tremendous value for many locations simultaneously is to bring us in to do a PD session for all the teachers in your district!

Courses for Teachers
In the creation process right now!
Sound For Your Event
Providing extravagant audio for school events is our passion. We love to bring in the kind of equipment used on Broadway and in big festivals. We often hear feedback from clients who say the thing they appreciate most about our service is that that they never have to give audio a second thought.
Testimonials
"Thank you again for everything that you’ve done. You have certainly provided more than you promised and you have helped us in ways that can’t be quantified by hardware installation or cable runs."
Robert
"I've been a teacher for over 15 years and yours was the most relevant (PD) session I have ever been a part of. There was so much helpful information about things we are not taught while preparing to be a music teacher."
Scott
FAQS
Can you come to our school and fix our sound problems?
If you are within a few hours of Charlotte, NC then yes!
Can you give us a quote for a new sound system?
Absolutely! Let's schedule a call to get the ball rolling!
Can you help us with our musical?
If you are within a few hours of the Charlotte, NC area and we are available on the dates you need then yes!